Zapier is a tool that helps you link applications together so that an action in one can automatically trigger an action in another.
myPresences supports Zapier, this allows you to request reviews from clients automatically when an action occurs in one of your other applications that support Zapier.
This includes major applications like:
- Square
- Xero
- Quickbooks
- Shopify
- Mailchimp
- Zendesk
- Wave
Before you begin
Before you start you will need:
- The business the zap is for added to myPresences.
- A campaign created so that new contacts are automatically sent review requests.
You will need to enter the name of the business and the name of the campaign when setting up your ZAP.
Setting up your Zap
To use myPresences in a zap first you need to have a Zapier account. You can use up to 100 zaps per month for free.
Once setup go to your Zapier dashboard.
1. Click on the Create Zap button.
2. Choose the Trigger for the Zap.
This is the application where an event will occur that you want to "trigger" myPresences to request a review for the associated person.

Search for your app in the top bar and click the application you want to use from the list.

When the app appears verify it is the correct one and choose an Event for that app that will be used to "trigger" sending review requests in myPresences.
3. Choosing the Event Type for your trigger
Each app will have a different set of events. You need to choose the event that represents the point where you want to send the review request.
Usually, this is after a sale has been completed or payment has been made.
Some triggers will not be appropriate for sending review requests because they don't include things like phone numbers or email addresses.
If this is the case you will have to use other triggers, potentially from other applications.
Click an Event Type to choose it and then click the Continue button. You can always come back and choose another if you think it will work better.
4. Connect and choose an account on your application
The first time you use an application with Zapier you will need to login using your username and password for the application.
You may then be asked to choose an account from the application and then click Continue.
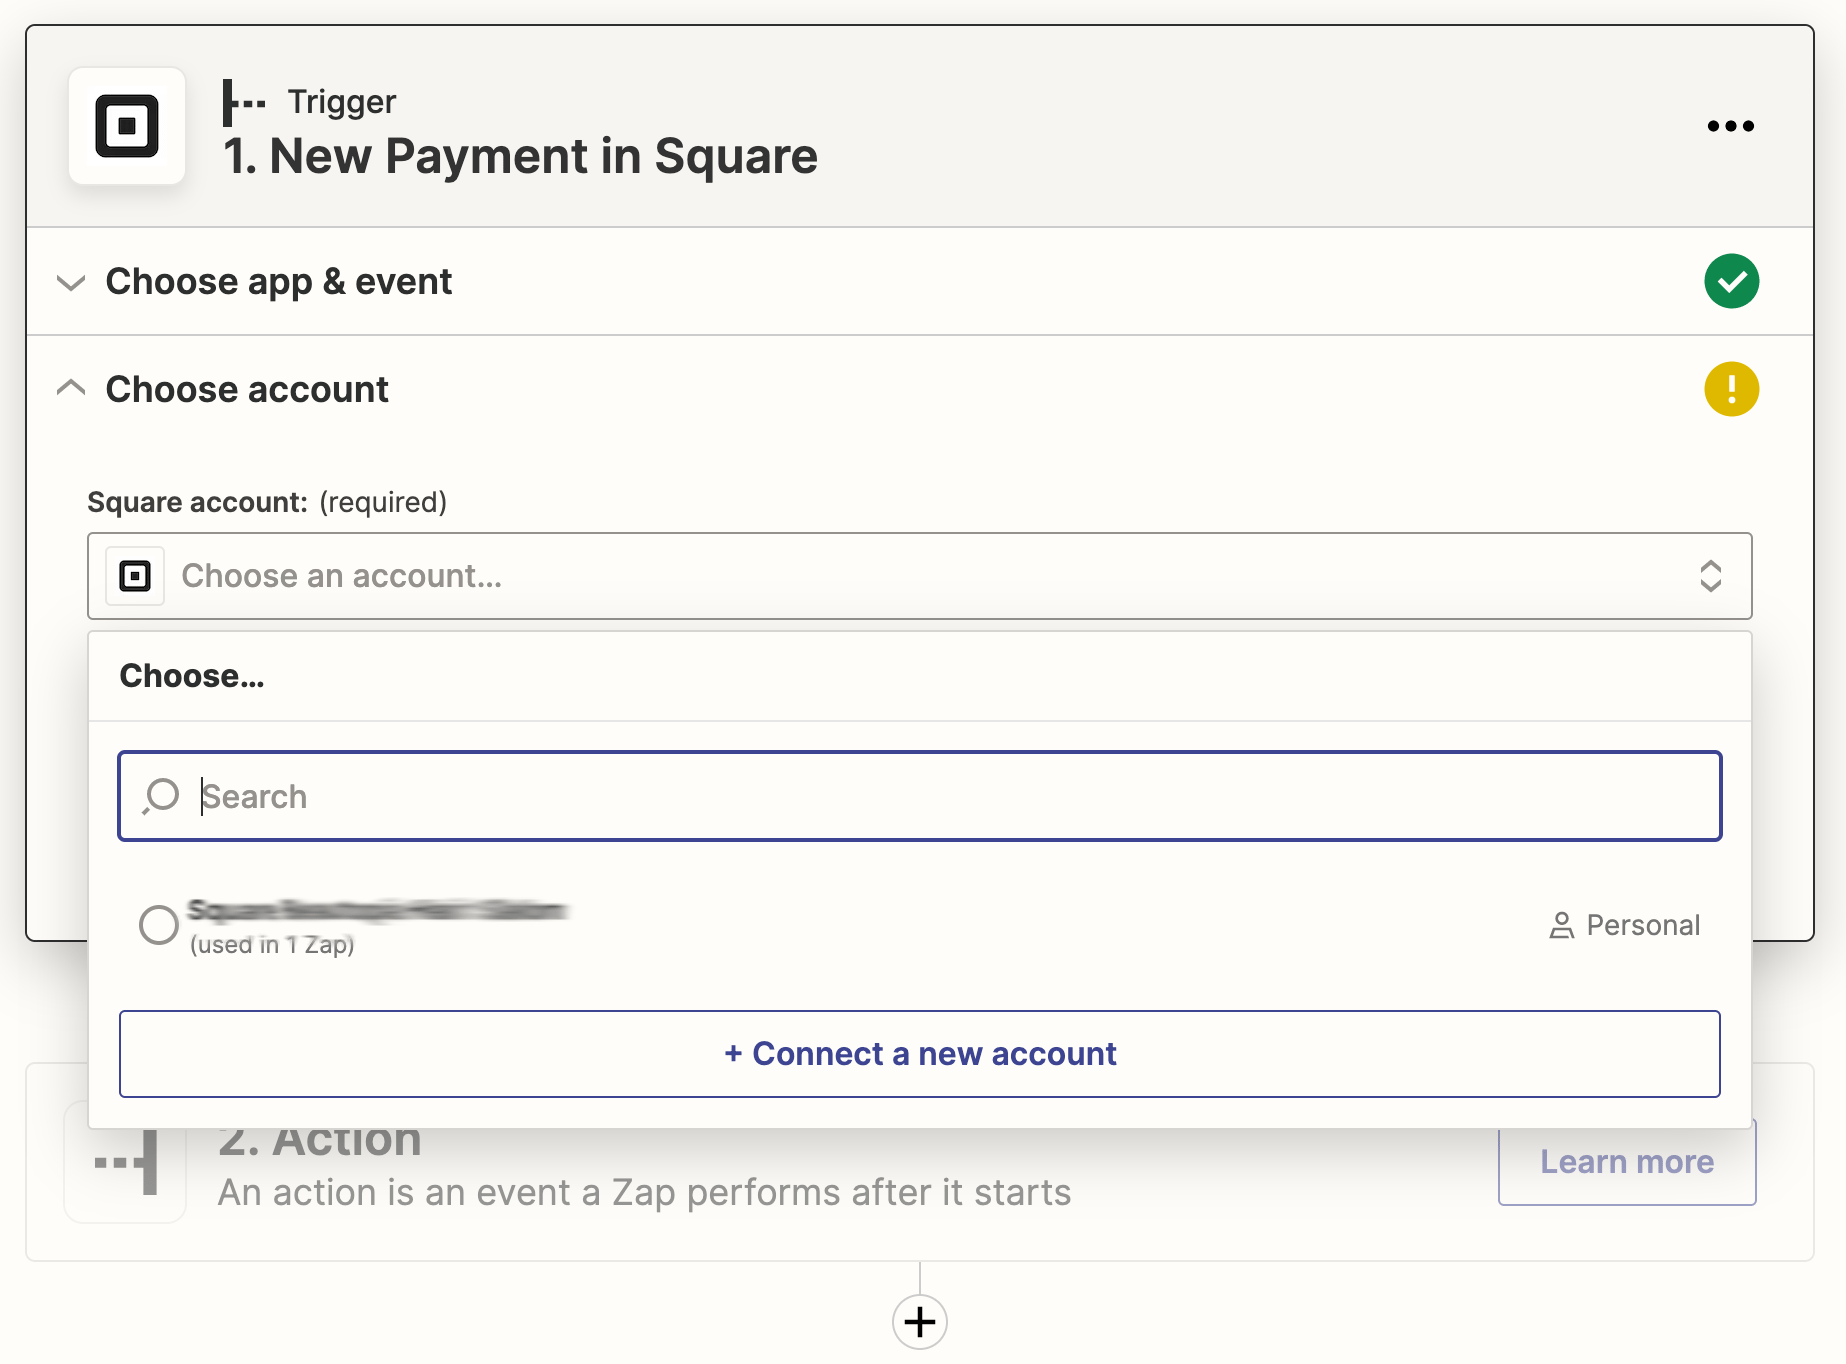
Depending on the application you may be asked for more information. In the case of Square it then asks for the business location as square supports more than one business location per account.

5. Testing your trigger
Once your trigger is setup Zapier gets you to test the trigger.
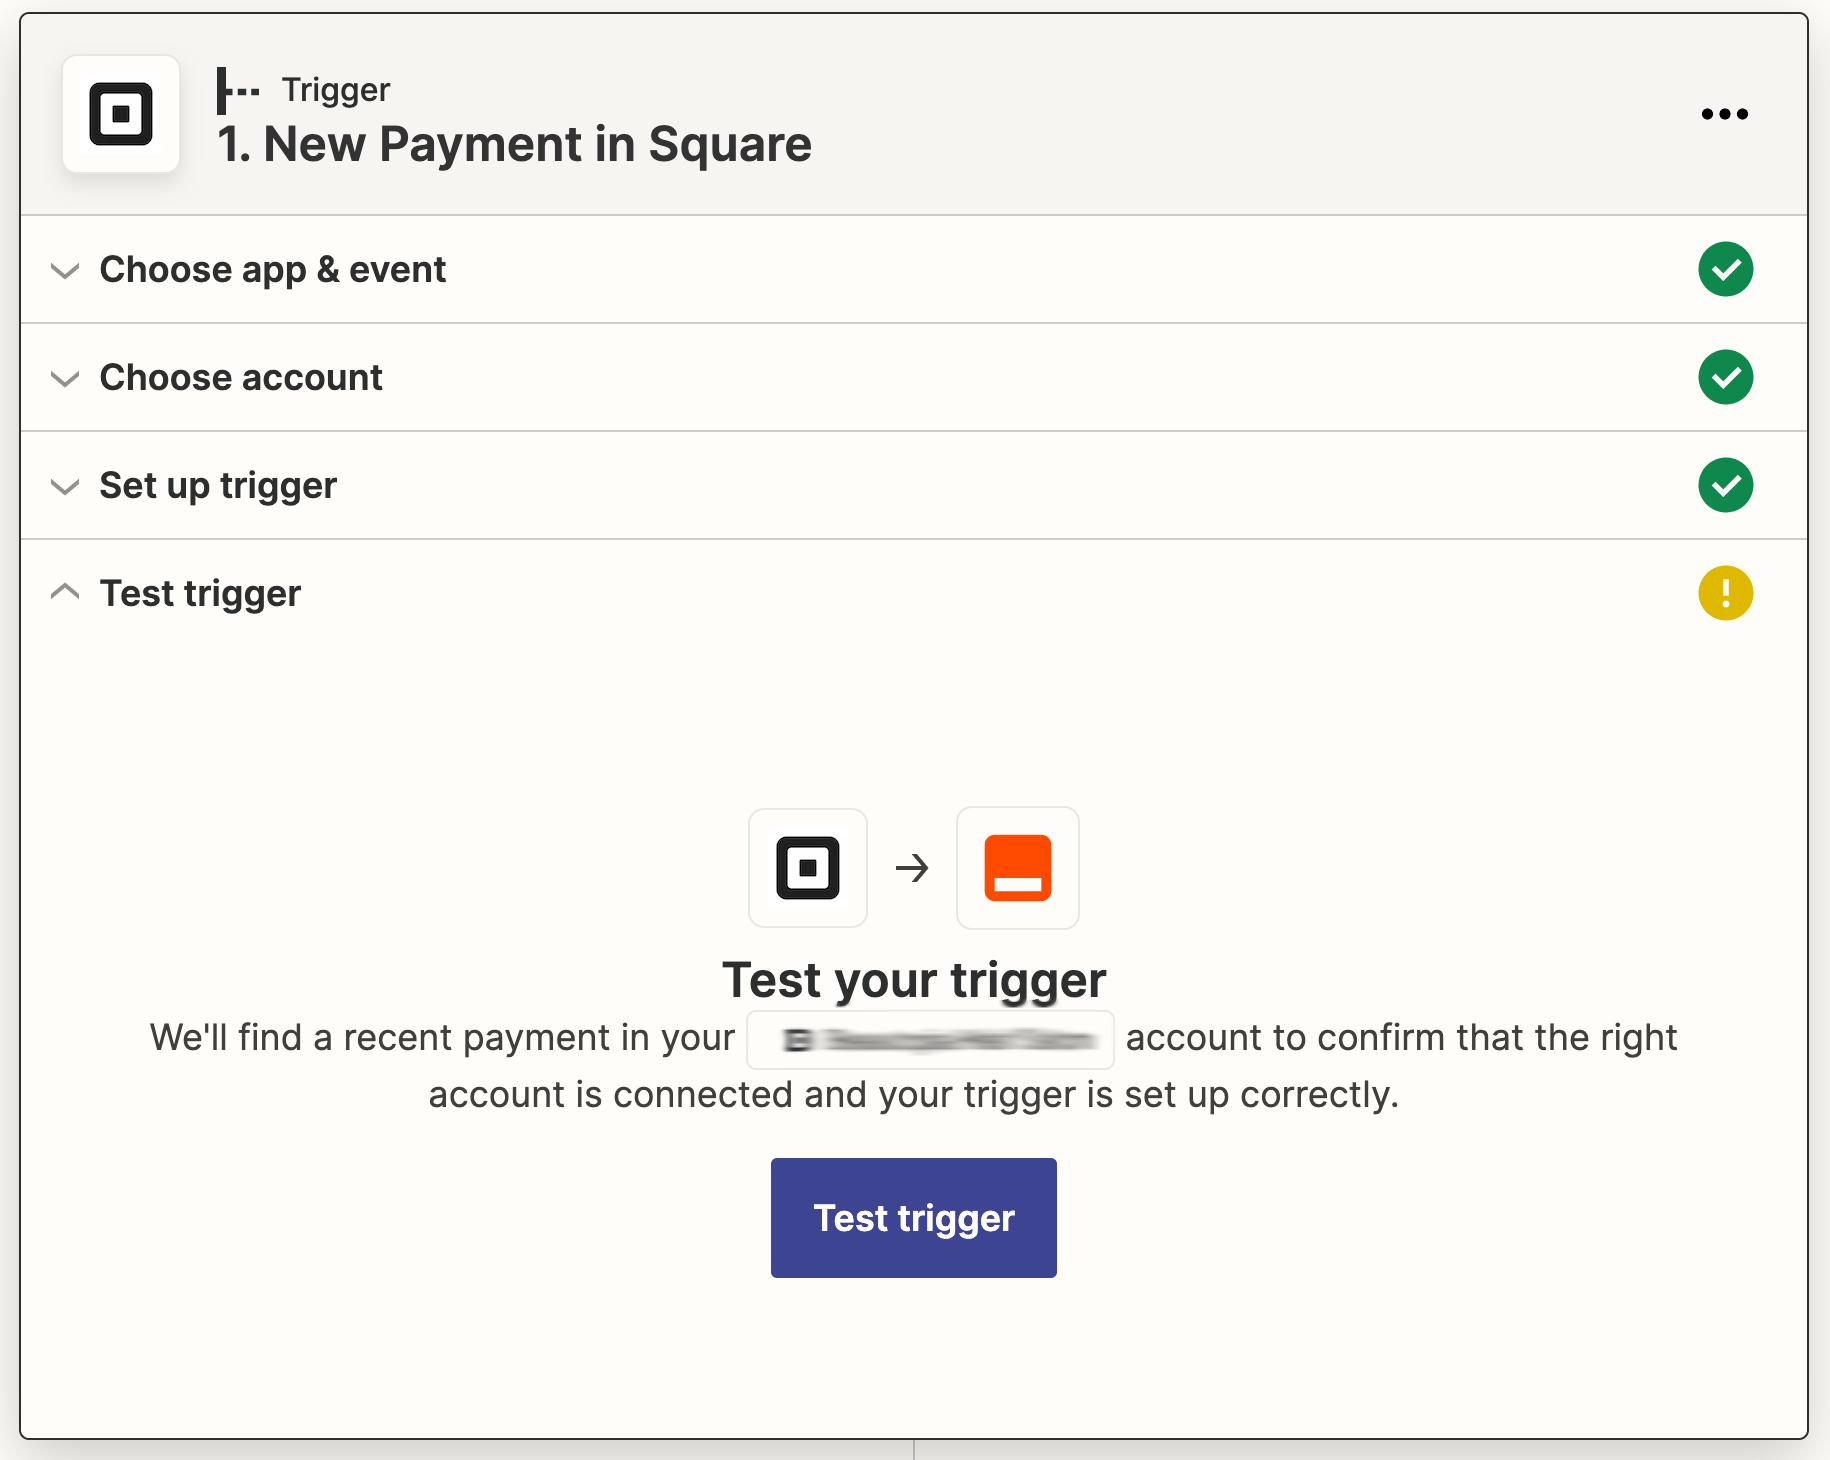
Click on the Test Trigger button and then Continue. This will test the trigger and load sample data you use when setting up the myPresences action.
6. Setting up your myPresences review request action
Now you will define what happens in myPresences when the trigger you just setup occurs.
The choose actions window will appear. Search for and click on myPresences.

7. Choosing the myPresences event
There is currently only Add Feedback Request and choose Continue. This will add a person to the contact database in myPresences and automatically add them to a campaign so they start receiving review requests automatically.

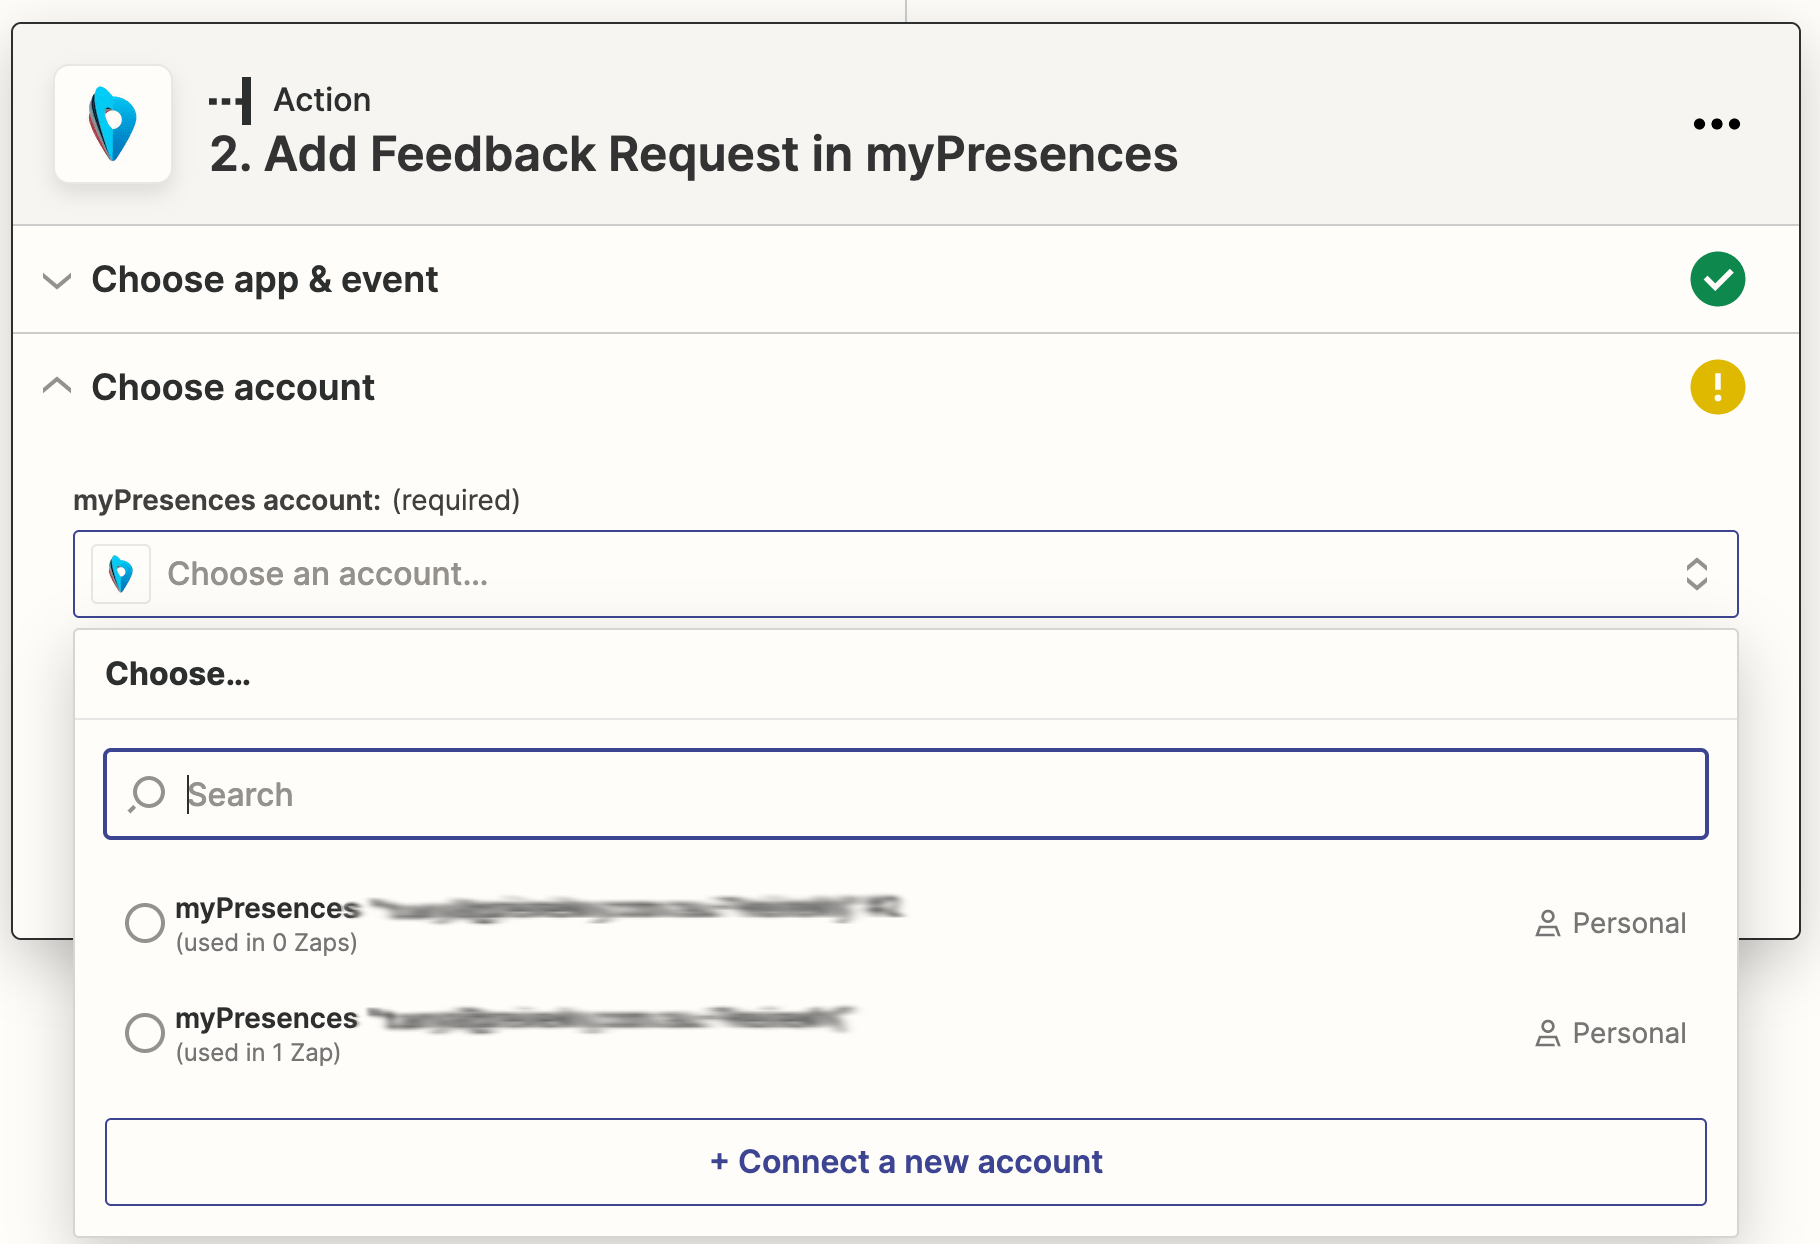
8. Login or choose your myPresences account
If this is the first time you have connected myPresences in Zapier it will ask you to login to myPresences using your username and password.
Once you are logged in, you can choose the business under your account where the contact will be added and click Continue.
9. Setting up the action fields
In the next step you need to set the values of all the fields sent to myPresences.
You must specify a business, but if you don't use any of the other fields in your campaigns you don't have to select them. Eg. if you never use a persons last name you don't have to select it.
This includes:
- The name of the business the person is being added to. This should match the name as listed in myPresences. You should type this name into the Business field.
- The First Name of the person. This should come from selecting a first name field from the data coming from the trigger application. To select a value click on the field and choose a First Name field from the listed options.
- The Last Name of the person. This should come from selecting a last name field from the data coming from the trigger application. To select a value click on the field and choose a First Name field from the listed options.
- Email. Click the field and choose an email field from the listed options.
- Phone. Click the field and choose a phone number field from the listed options.
- Campaign. Type the name of the campaign in mypresences that will be used to send review requests. If left blank the automatic review campaign set in Reputation Setup will be used.

A completed action form will look like this:
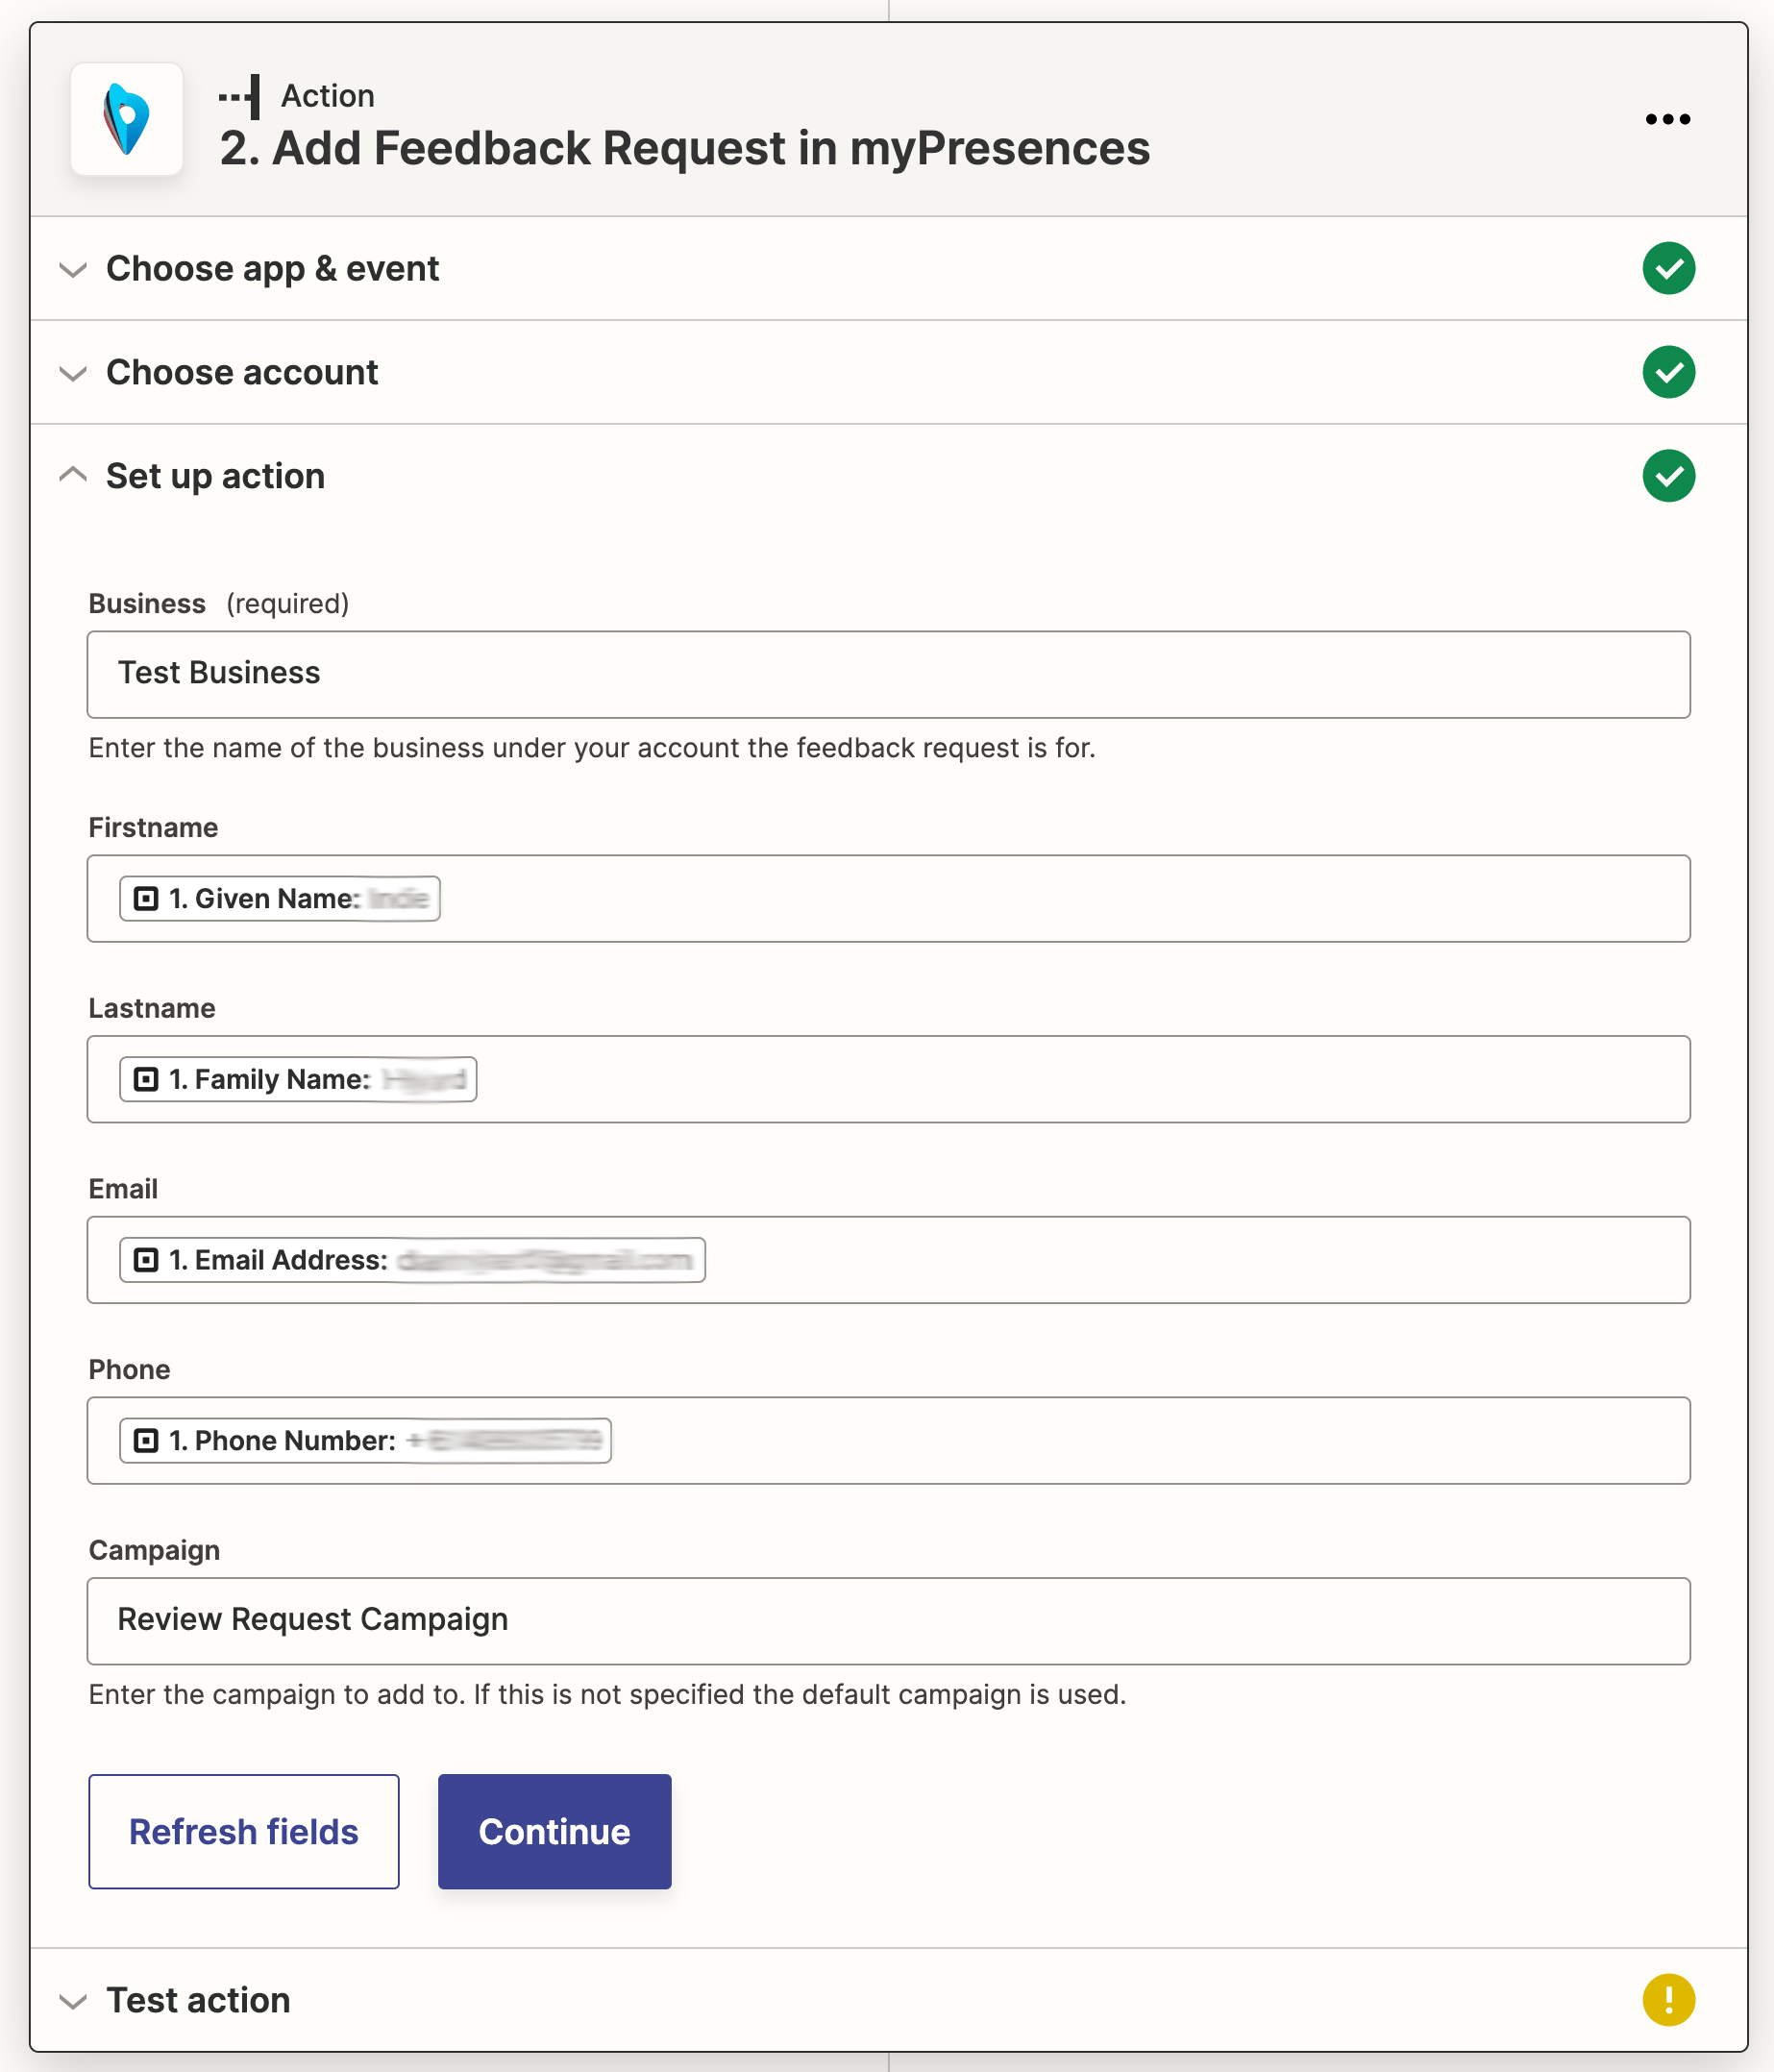
click Continue when complete.
10. Finalise and Test
The final page will look like this.
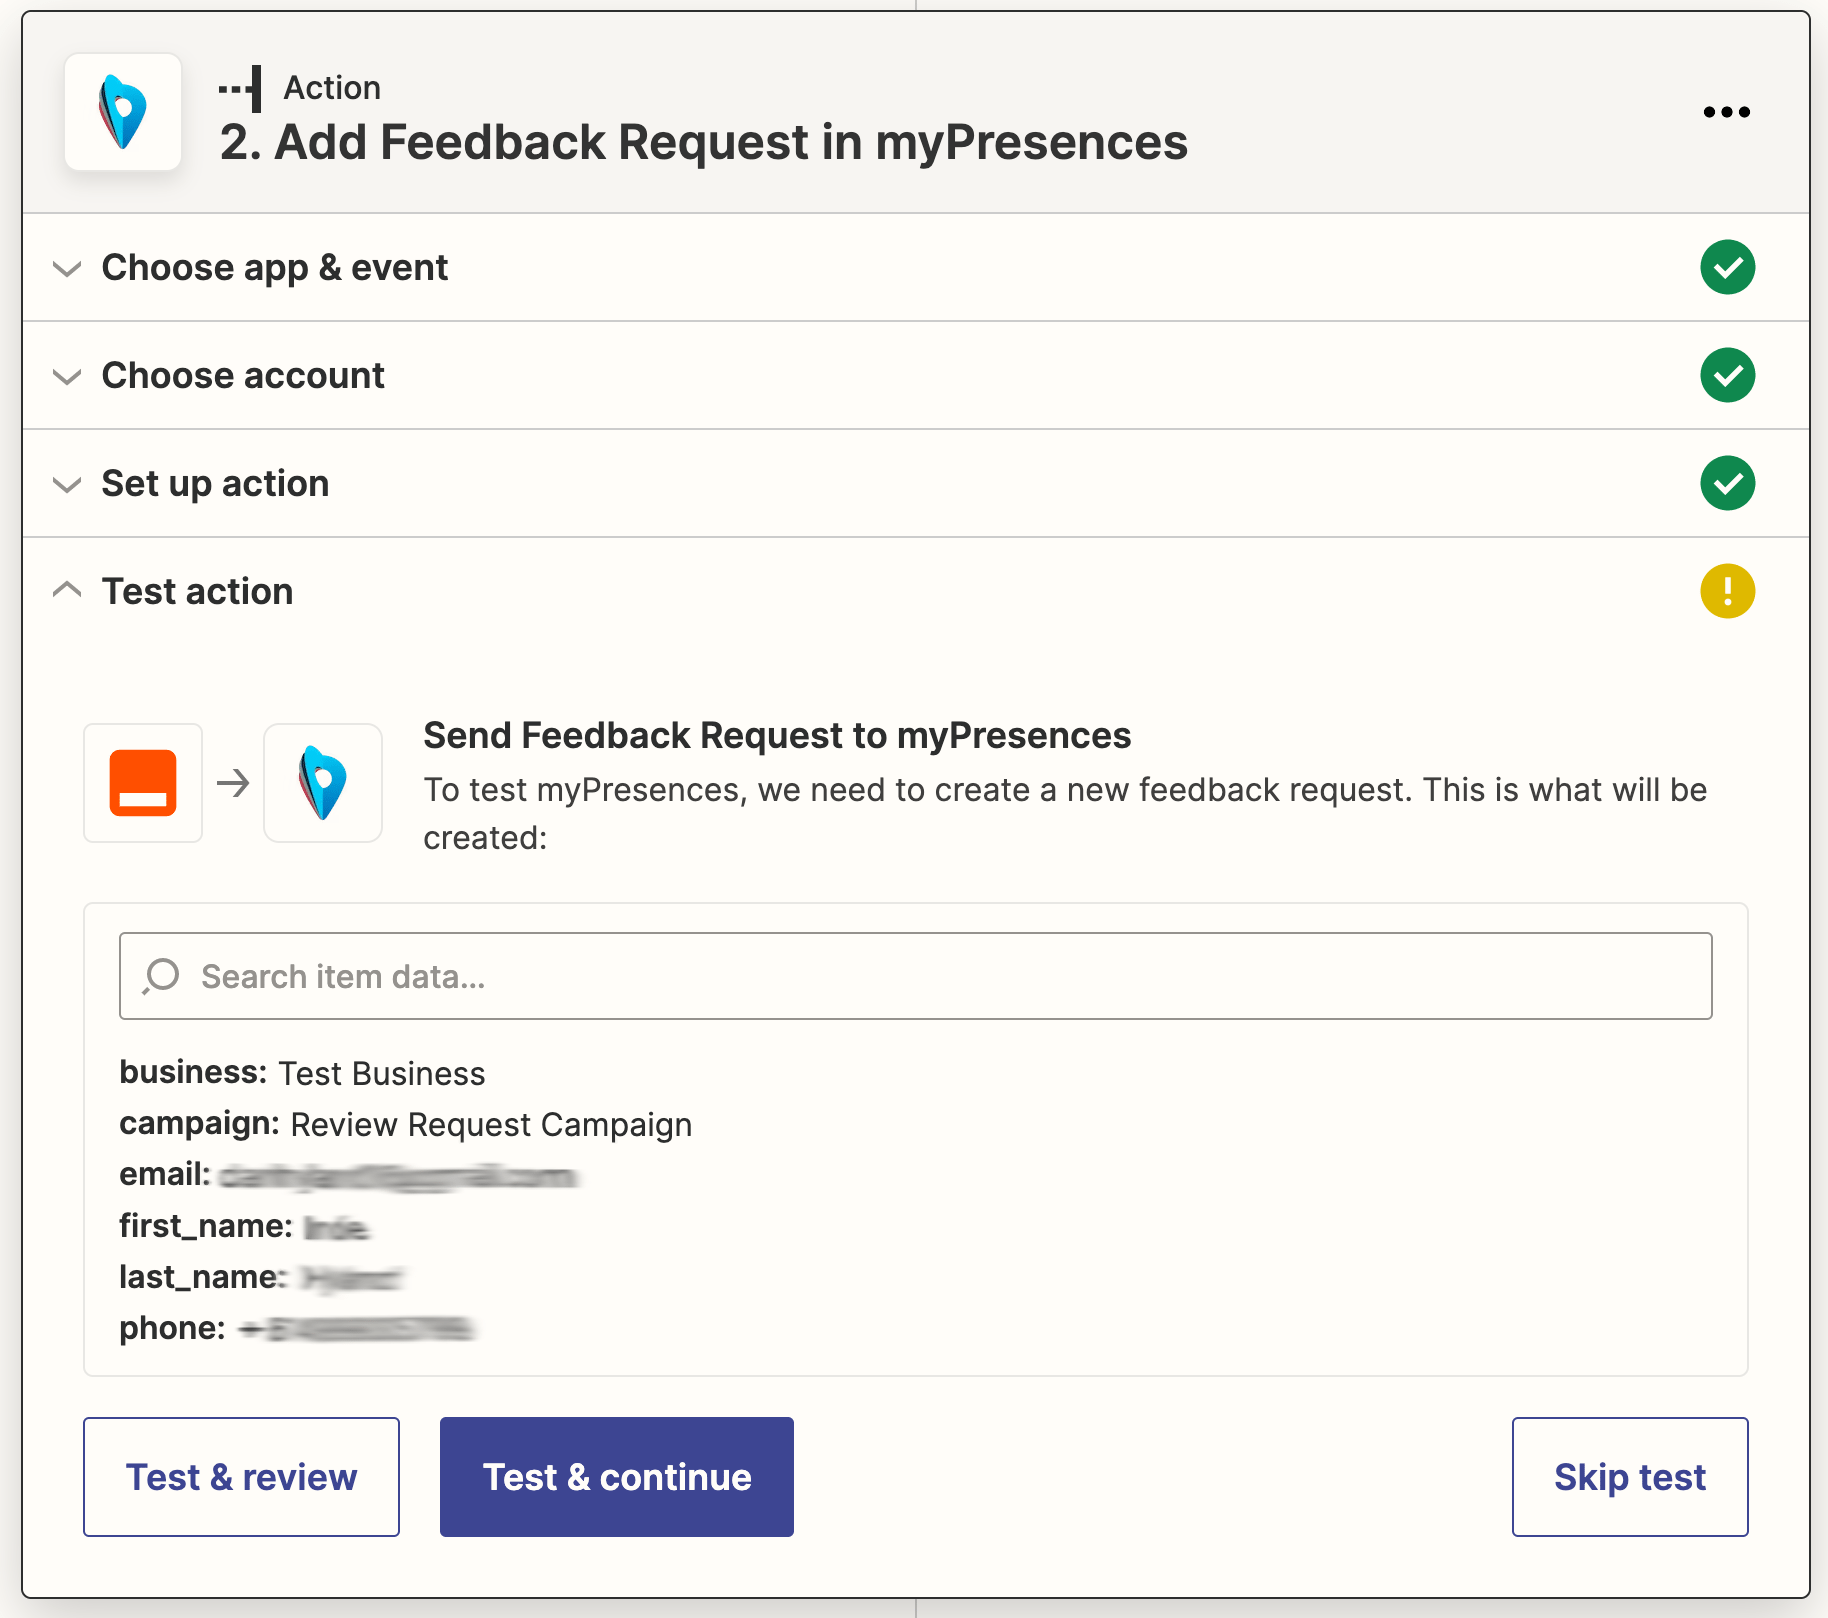
If you choose Test & continue the contact will be added to myPresences and the campaign.
If you chose Skip test you will get a warning but you can continue.
Click on Publish Zap to make your ZAP live.

11. Your ZAP is live
Your ZAP is now live and listed on your ZAP dashboard as active.

Whenever the trigger occurs in your application the person associated will be added to the myPresences contacts list for the business and automatically added to the specified campaign.
Check the dashboard after a few days to ensure the zap is working correctly.
Click on Zap History in the right menu to see when your zap has run.

Comments
0 comments
Please sign in to leave a comment.