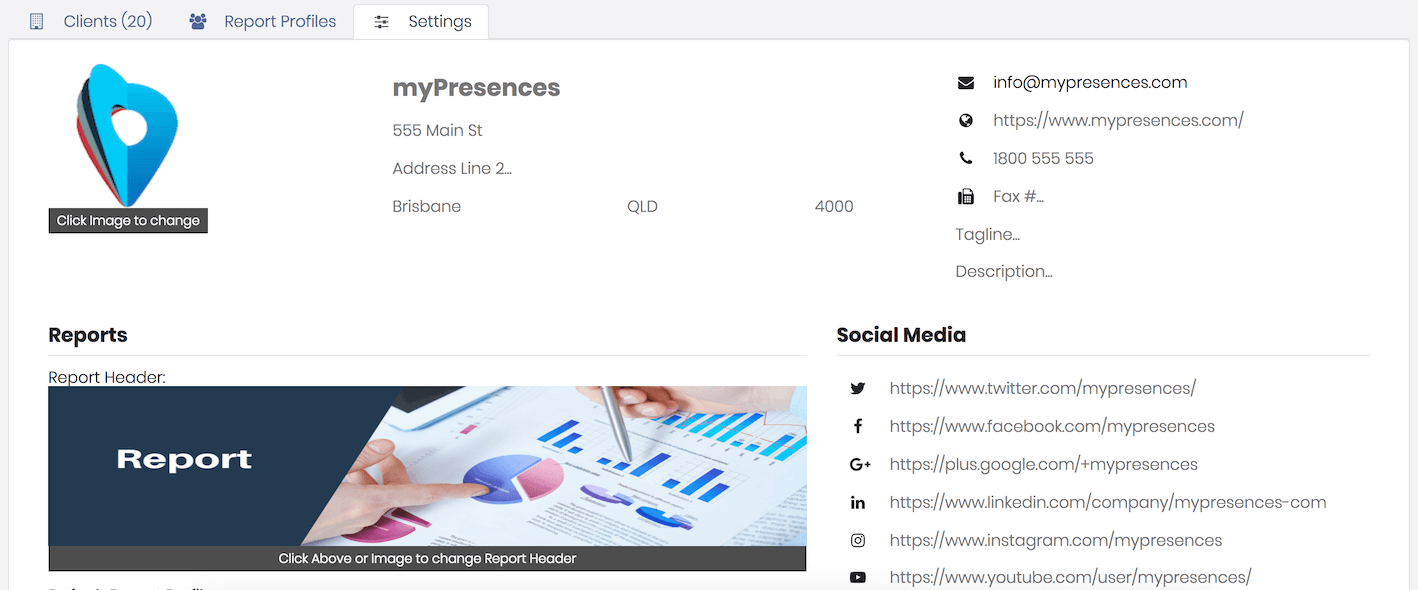
You can customise reports you generate for your clients so they are white labelled for your business.
This allows you to set the following:
- A header image to showcase your agency. This will appear on the top of the first page of all reports.
- Information about your agency. This appears below the header image.
- A Disclaimer that appears at the end of the report.
- Default Report Profile.
To set your report settings go the Agency screen on the navigation bar and click on the tab Settings.
Header Image
The header image should be a showcase for your agency and will appear on the top of the cover page for the report. This will be the first thing your client sees when they view your report.
If you do not set a header image then a default header image will be displayed.
You should upload a header image that is similar to the image you would use at the top of your Facebook or Twitter profiles.
We recommend an image of as close as possible to 1500 pixels wide by 500 pixels high.
The image you provide will be used to fill the top of the report so you should check a report before sending it to a client to ensure the image is properly displayed and does not crop or stretch the image in an unacceptable way.
Agency Information
The agency information appears in a strip below the header image and includes things like:
- Logo
- Business address
- Phone number and fax number
- Website and Blog
- Tagline
- Description
- Social Media profiles. Facebook, Twitter, Google+, LinkedIn, Instagram and Youtube.
If you leave out any of these values then nothing will be printed.
Disclaimer
You can set an optional disclaimer that will appear at the bottom of all of your reports. This allows you to set the terms under which the report is provided. If this is not specified then nothing is printed.
Default Report Profile
You can set a default report profile that will be used when a new report is created as part of a schedule.

Comments
0 comments
Please sign in to leave a comment.